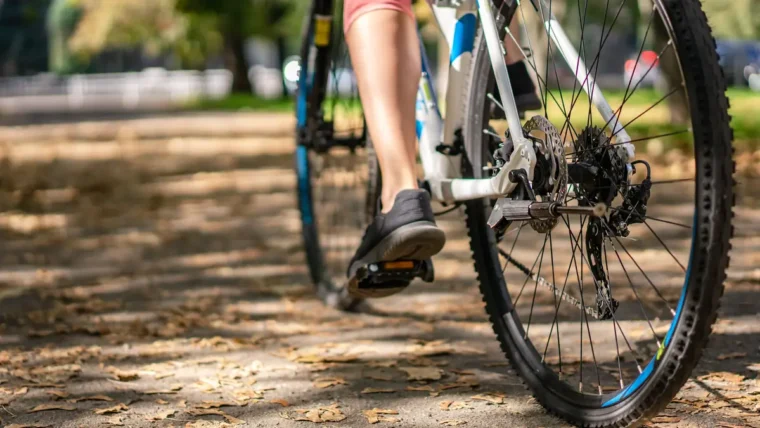
The right mudguard depends on one thing before anything else: whether your bike has eyelets. These are small threaded holes on the fork legs and rear dropouts — without them, you cannot bolt on a traditional full-length guard. Check for them first, then follow the section that matches your bike.
Does Your Bike Have Eyelets?
Eyelets are small threaded holes located near the dropouts — where the wheel axle slots in. Look at the tip of each fork leg and at the rear seatstay or chainstay behind the brake mount. If you see bolt holes there (even if currently empty), you have eyelets. Most hybrid and touring bikes include them; most carbon road bikes and many flat-bar commuters do not.
If you are unsure, run your finger around the dropout area: an eyelet feels like a recessed threaded socket. Some frames have a single eyelet at the bridge behind the bottom bracket — these work, but limit your guard options to certain designs.
Full-Length Bolt-On Mudguards (Bikes With Eyelets)
Full-length guards give the best protection for year-round commuting. They cover the tyre arc from front to rear, keeping spray off you and your drivetrain. Most are plastic (lighter) or metal (more durable).
What You Need
- A set of full-length mudguards with stays (included in the pack)
- A 5 mm Allen key and usually a small spanner for the stay nuts
- A hacksaw or wire cutters to trim the stays to length
Step-by-Step Fitting
- Thread the stays through the mudguard. Stays are the thin metal or plastic rods that hold the guard away from the tyre. Slot them into the side holes of the mudguard — they should slide in loosely at this stage.
- Attach the stays to the eyelets, loosely. Bolt each stay end to the corresponding eyelet on the fork or seatstay. Finger-tight only — you need to adjust everything before the final tightening.
- Mount the top bracket. The front mudguard typically clips to the fork crown (the bridge between the two fork legs). The rear usually bolts to the seatstay bridge or underneath the chainstay. Finger-tight again.
- Centre the guard over the tyre. Spin the wheel and look down from above: the mudguard should run directly above the tyre, equidistant on both sides. If it is off to one side, loosen the stays and reposition.
- Set the clearance and trim the stays. According to Tredz’s fitting guide for SKS full-length mudguards, once the guard is correctly positioned, measure 10 mm from the nut on each stay, mark where to cut, and trim the excess with a hacksaw. This sets the guard at a safe, consistent distance from the tyre along the full arc.
- Tighten all bolts. Work around the mounting points, tightening everything firmly. Avoid overtightening plastic brackets — you can crack them.
- Spin the wheel and check for rub. No part of the guard or stay should touch the tyre or rim. Adjust and retighten if needed.
If your bike lacks eyelets but you want full-length coverage, P-clips are a practical workaround: small brackets that clamp around the fork leg or seatstay and give you a bolt-on point. They work reasonably well, though the fit is rarely as solid as a proper eyelet. SKS chromoplastic mudguards are a commonly paired option. Check current prices for P-clip kits at most bike retailers.
Clip-On Mudguards (Bikes Without Eyelets)
If your road or flat-bar bike has no eyelets, clip-on mudguards attach without bolting into the frame. The two most practical options for commuters are blade-style clip-ons and strap-on designs.
Blade-Style Clip-Ons (e.g. SKS Raceblade)
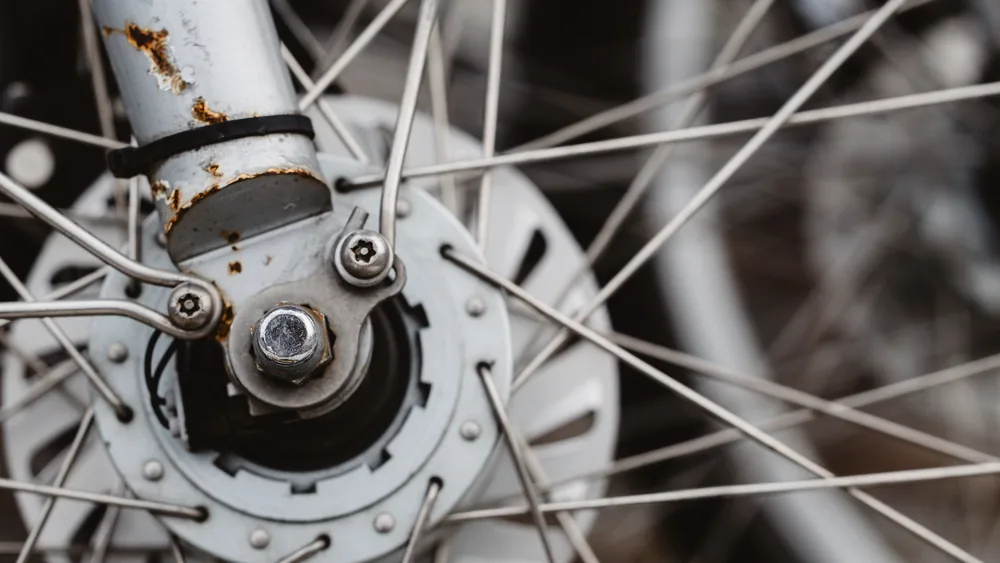
These mount behind the quick-release skewer on each wheel. According to road.cc, the SKS Raceblade uses a set of clips that fit behind the QR body, giving a more secure attachment than typical strap-on solutions and keeping the guard from rattling loose.
- Open your wheel’s quick-release lever.
- Slide the mudguard mount behind the skewer body, between the skewer and the fork dropout.
- Close the QR lever firmly — the mount is now captured in place.
- Position the mudguard blade over the tyre. Slacken the 2.5 mm hex bolts on the mount, angle the guard so it sits central over the tyre, and adjust for a clearance of around 15 mm from the tyre surface (as recommended by SKS), then tighten the bolts.
Check current prices for the SKS Raceblade range. These are designed for narrow-clearance road bikes — check the manufacturer’s stated tyre compatibility before buying if you run wider tyres (28 mm+).
Strap-On and Frame-Clip Guards (e.g. Crud Roadracer)
These use silicone straps or frame clips to hold the guard against the seatstay or fork blade without needing eyelets. Fitting is straightforward: wrap the strap around the tube, feed it through the slot on the guard, and tension by hand. They are quick to remove for dry days.
Coverage is less comprehensive than blade-style clip-ons, but for commuters who only need guards occasionally, the convenience is hard to beat. Check current prices on the Crud Roadracer and Flinger Race Pro.
Saddle-Mounted Guards (Ass Savers and Similar)
If you want basic rear-splash protection and nothing else, a saddle-mounted guard is the lightest, fastest option. The Ass Saver clips under your saddle rails — no tools, no bolts, no eyelets — and flips down to deflect water away from your lower back.
According to the manufacturer, it fits all saddles with standard rails, including carbon-rail designs. Coverage is limited to your lower back and shorts, so it suits riders who want something better than nothing on a wet day without committing to a full mudguard setup. Check current prices at Ass Savers or UK bike retailers.
Getting the Fit Right: Clearance and Alignment
Whatever type of mudguard you fit, two things determine whether it works:
- Clearance: there must be a consistent gap between the inside of the guard and the tyre — not just when the bike is unloaded on a workstand, but under your weight. A guard that clears the tyre by 2 mm when the bike is on a stand may contact the tyre when you ride over a pothole and the fork compresses. Aim for at least 10–15 mm, depending on guard type.
- Alignment: the guard should track directly above the tyre centre. A guard that is off to one side will foul one edge of the tyre or rattle in corners.
Spin each wheel after fitting and listen for any contact. A ticking or scraping sound means something is rubbing — find it before you ride.
Safety Checks Before Riding
- Squeeze the wheel by hand and check that no stays or brackets deflect into the tyre under mild load.
- Confirm all bolts are firm — a loose stay can drop into the spokes while riding and cause a sudden stop or crash.
- Turn the handlebars lock to lock and verify the front mudguard clears the tyre in both directions of steering.
- Lean the bike to simulate a corner — the tyre should not brush the inside of the guard at full lean.
When Are Mudguards Worth Fitting?
For most UK commuters, from September through to April at minimum. Roads stay wet for hours after rain, and a mudguard prevents road spray from soaking your lower back and clogging your drivetrain. If you commute year-round, bolt-on full-length guards are a one-off 30-minute job that makes wet rides significantly more tolerable. If you only ride in summer with occasional wet days, a clip-on blade or saddle guard gives flexibility without permanent modification.
For more on keeping your bike in shape through the year, see our guides to basic bike maintenance in 20 minutes a week and choosing the best commuter bike for your needs. Our guide to locking your bike and beating thieves is also worth reading before your first commute.
Frequently Asked Questions
Can I fit mudguards to a road bike with no eyelets?
Yes. Use a blade-style clip-on like the SKS Raceblade, which mounts behind the quick-release skewer, or a strap-on design like the Crud Roadracer. Full-length bolt-on guards need eyelets, though P-clips can provide an eyelet-like fixing point on some frames if there is sufficient clearance.
How much clearance should a mudguard have from the tyre?
For full-length guards, position the guard so the stays are trimmed to leave consistent clearance around the tyre arc — Tredz’s guide for SKS full-length guards suggests measuring 10 mm from the nut before cutting the stays. For blade-style clip-ons like the SKS Raceblade, the manufacturer recommends around 15 mm of clearance between the guard and tyre surface.
Do mudguards fit all bikes?
Full-length bolt-on mudguards fit only bikes with eyelets, which most hybrids and touring bikes have. Clip-on and strap-on guards fit almost any bike, but check the manufacturer’s stated tyre-width compatibility — some blade designs only suit tyres up to 25 or 28 mm wide.
Are mudguards worth fitting for commuting?
On UK roads, almost certainly. Full spray from the rear tyre soaks your lower back and shorts within minutes on a wet road. A full-length rear guard eliminates this; a full-length front guard keeps road grit off the drivetrain and your feet. For year-round commuting, bolt-on guards are worth the one-off fitting time.