A puncture is not a breakdown — it is a fifteen-minute pause, once you have done it twice. Here is the method, in the order that actually works at the roadside.
Carry these four things
- A spare inner tube (the right size — it is written on your tyre sidewall, e.g. 700×28c)
- Two tyre levers
- A mini pump or CO₂ inflator
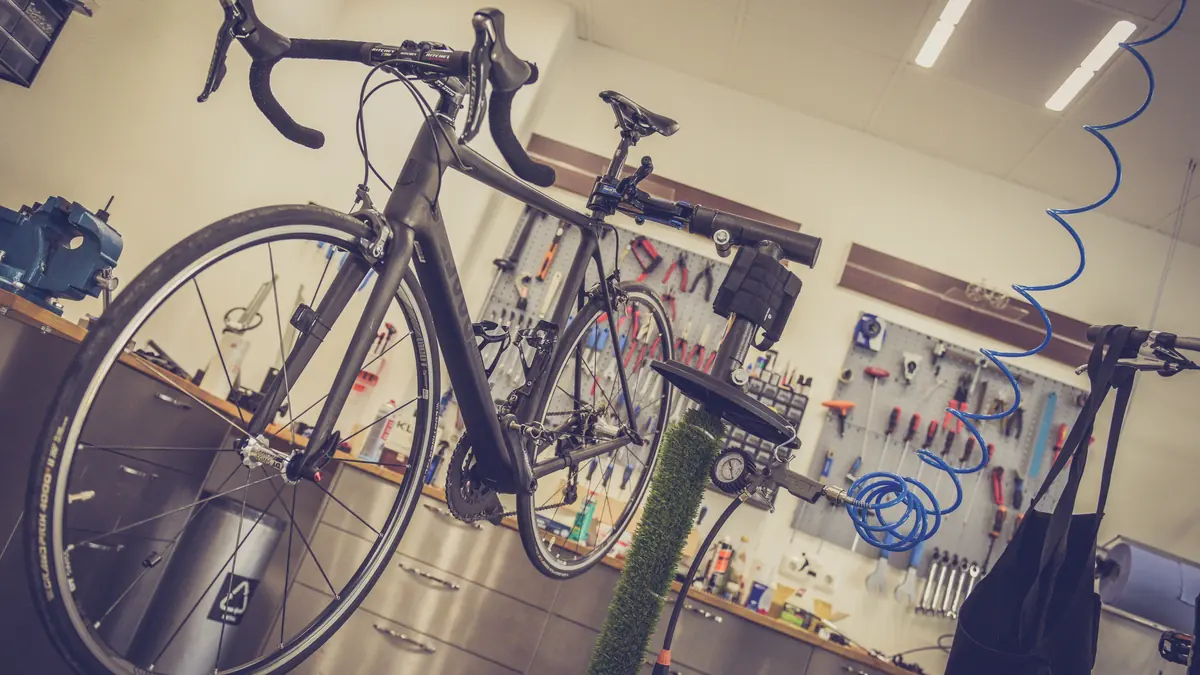
- A patch kit as backup for the day you puncture twice
Two details save arguments later. First, check the valve type as well as the size: Presta (thin, with a lock nut) and Schrader (car-type) need different rim holes and sometimes different pump heads. Second, keep the kit on the bike — a saddle bag you never open beats a perfect toolkit at home.
The 15-minute method
- Get the wheel off. Rear wheel? Shift into the smallest cog first — the wheel drops out far more easily. Open the quick release or undo the thru-axle.
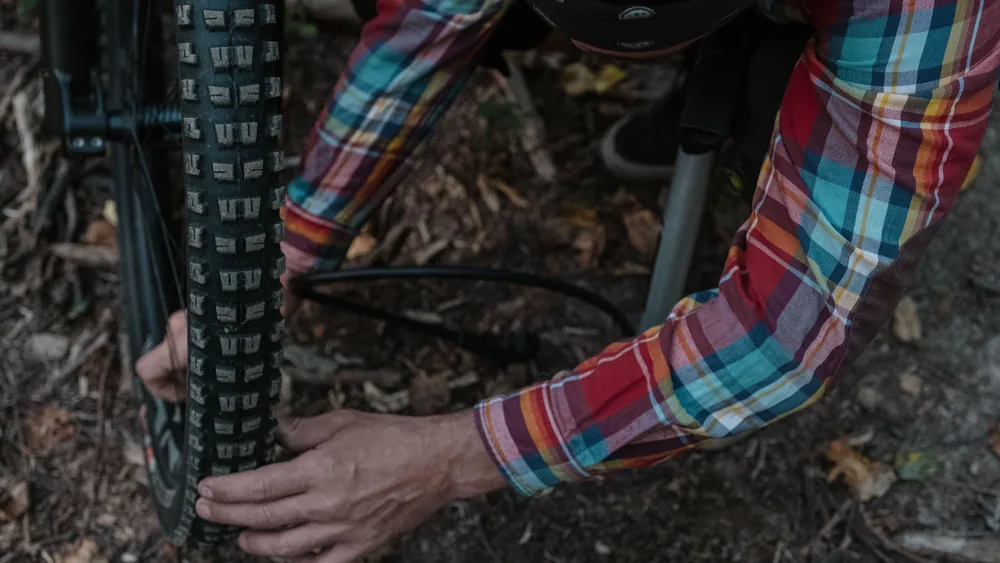
- Unseat one side of the tyre. Hook a lever under the bead, anchor it on a spoke, slide the second lever around. Leave the other side of the tyre on the rim.
- Find the culprit. Pull out the tube, then — before anything else — run your fingertips slowly around the inside of the tyre. The thorn or glass shard that caused the puncture is usually still embedded, waiting for your new tube. This single step prevents most “double punctures”.
- Fit the new tube. Put a little air in it first so it holds a round shape, seat the valve, tuck the tube into the tyre all the way round.
- Re-seat the tyre by hand. Work the bead back onto the rim with your thumbs, finishing opposite the valve. Avoid levers here if you can — they pinch new tubes.
- Check, then inflate. Squeeze the tyre all round to make sure the tube is not trapped under the bead, inflate to the pressure range printed on the sidewall, refit the wheel.
Patching a tube properly
At the roadside, swap the tube and patch the punctured one at home — patching is a kitchen-table job, not a kerb job. Done right, a patched tube is as reliable as a new one:
- Find the hole by inflating the tube and listening, or passing it past your lips — skin feels a leak your ears miss. Mark the spot.
- Roughen the area with the sandpaper from the kit, slightly larger than the patch. Glue does not bond to the tube’s moulding-release coating; sanding is not optional.
- Thin layer of vulcanising glue, then wait. This is the step everyone rushes: the glue must go touch-dry (a couple of minutes) before the patch goes on. Wet glue means a lifted patch a week later.
- Press the patch on hard for thirty seconds, from the centre outwards, and leave the foil backing on if it does not peel cleanly.
Glueless stick-on patches are fine as a get-you-home fix, but treat them as temporary — replace or properly patch the tube afterwards.
The mistakes that cause the second puncture
- Skipping the tyre sweep. The embedded shard punctures the new tube within a mile. Always sweep, even when you are cold and it is raining — especially then.
- Trapping the tube under the bead. It rides fine for a minute, then blows out with a bang. The squeeze-check in step 6 exists for this.
- Missing a rim-side cause. If the hole is on the inside of the tube (facing the rim), the tyre is innocent: look for a rim tape that has slipped and exposed a spoke hole. New tube on an unfixed rim problem = same puncture tomorrow.
- Levering the tyre back on. Tempting on tight tyres, and the classic way to pinch a brand-new tube. Roll the bead with your thumbs; if it will not go, let a little air out of the tube and work from the opposite side of the valve.
- Riding on a soft tyre “to get home”. Low pressure is how pinch flats happen — the tube gets nipped between rim and pothole edge, leaving the tell-tale twin “snakebite” holes.
Pressure: the five-second weekly habit
The single best puncture prevention is free: keep the tyres in the pressure range printed on the sidewall. Soft tyres pinch-flat on potholes and kerbs; rock-hard tyres are harsh and grip worse in the wet. A track pump with a gauge at home, a quick squeeze test before each ride, and a proper top-up once a week is the whole routine — it takes less time than reading this paragraph.
Make the next one rarer
Most commuter punctures are preventable. Tyres with a puncture-protection belt (the commuter classics) are slower on paper and infinitely faster than walking. Check your pressure weekly — soft tyres pinch-flat on potholes. And replace a tyre when you can see the casing threads: rubber that thin stops nothing.
If your bike came tubeless-ready, sealant handles most small punctures on its own — but carry a tube anyway; a big cut still needs one. For everyone on ordinary clincher tyres, the method above plus protective tyres is the reliable combination. General upkeep beyond punctures is covered in our basic maintenance routine.
Riding through winter? Glass and grit season makes protection tyres even more worthwhile — more in our winter riding guide.